
Here are a few pictures taken during construction of the fuselage of my RV-6A.
Click on the thumbnails for larger pictures.
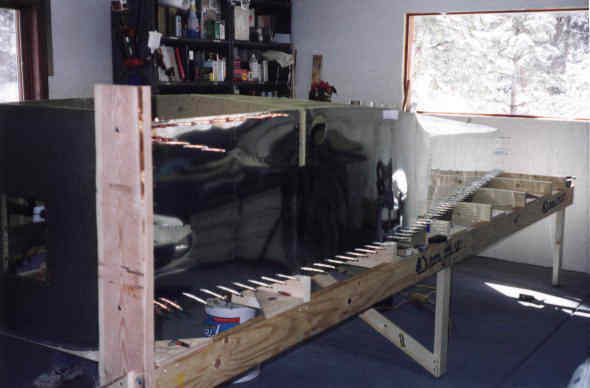
 Sometime during construction of the wings my wife decided that she really did not like bucking and wanted to try riveting. Well, I'm here to tell you that she has never held a bucking bar since. Here I am getting ready to buck some rivets in the tail cone.
 Carolyn the riveter. She does an outstanding job. If you don't believe me, take a closer look at the reflections in the side skin..
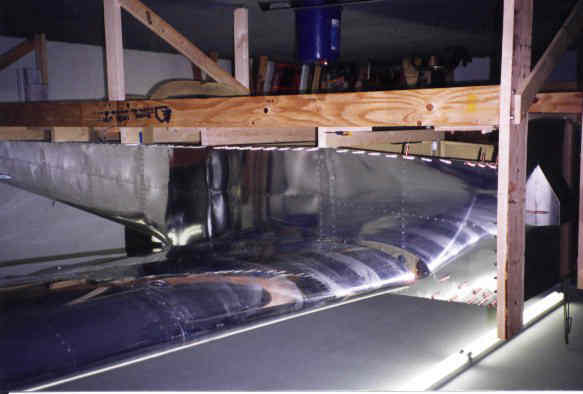
 The side and aft belly skins are riveted on. Now it is time to install the wings. The center and forward belly skins have been left off to ease the wing installation.
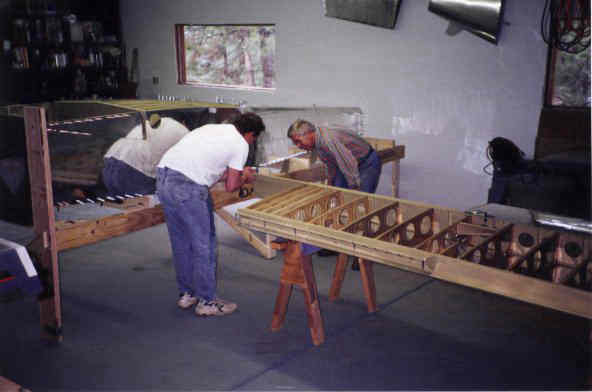 Readying the wing for installation. Hey, wait a minute, this is the wrong wing for this side.
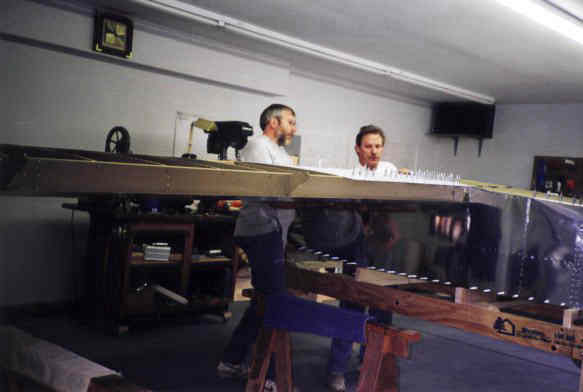
 After years of work, the wings are finally mated with the fuselage. One of my biggest worries was that the wings would not fit the fuselage. I got lucky and they fit.
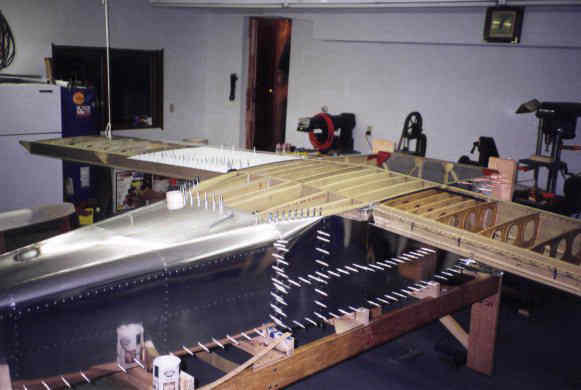
 The right wing fit as well as the left wing.
 I just don't remember installing that many ribs
 This is just a funny upside down shot of the wing fuselage intersection.