
THE FUSELAGE
Here are a few pictures taken during construction of the fuselage of my RV-6A.
Click on the thumbnails for larger pictures.
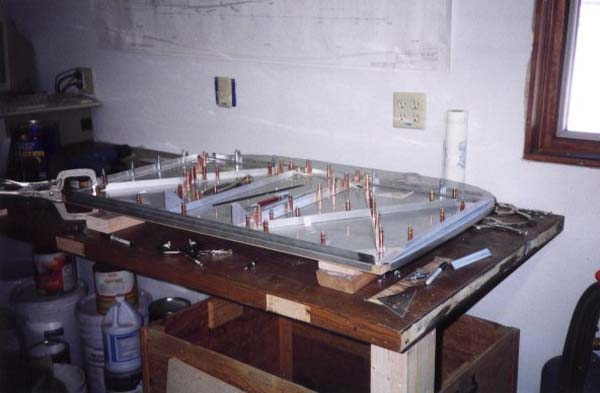 When I ordered my fuselage kit the pre-punched firewall was not yet an option. Construction took place on a raised piece of 3/4" particleboard cut to fit inside the flanges of the firewall. All the holes are drilled through the parts and into the board and then clecoed in place.
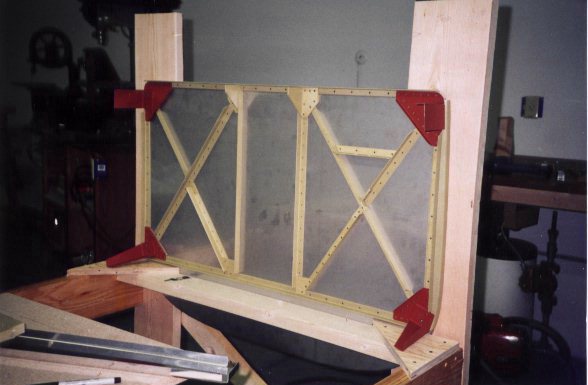
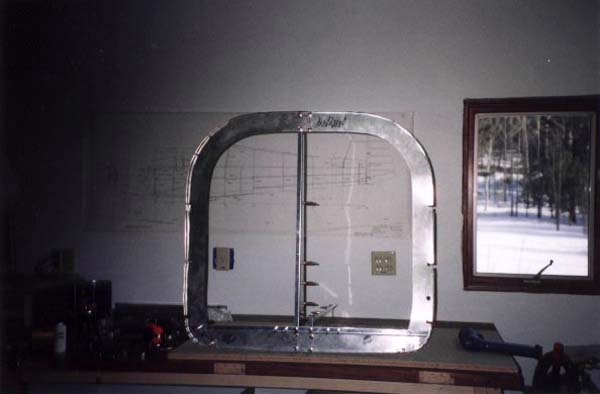 As per Frank Justice instructions I pre-assembled as many parts as possible. This is the F-606 baggage bulkhead assembled and ready for priming.
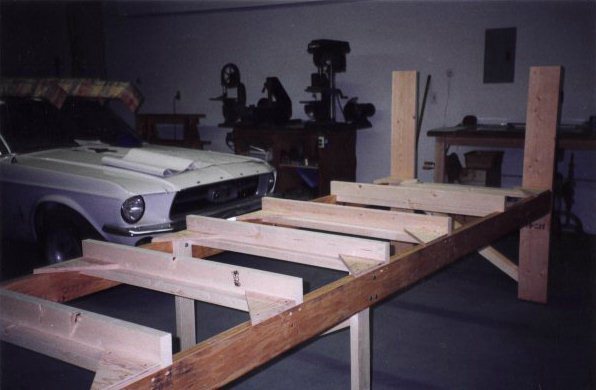 The fuselage jig is constructed entirely of wood. I could not find any straight 14' 2x6's so I used microllams for the long horizontal beams. The crosspieces are 2/4's and the legs have leveling feet on the bottom. Total construction time was one day at a cost of $90.00.
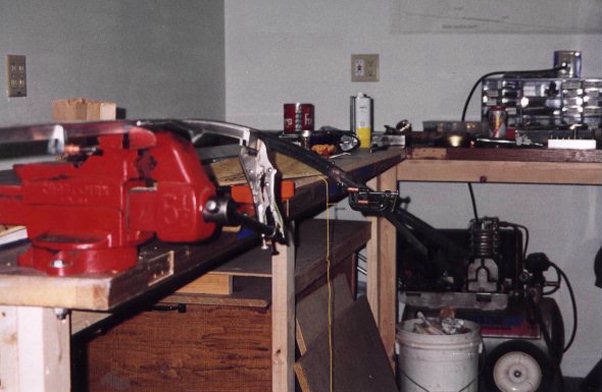
 The first step in bending the longerons is to make the bend that will go from the F604 bulkhead to the firewall.
 The bend that widens the fuselage in the cockpit area is a little tougher to get right. Bending the two angles together assures symmetry in the fuselage and makes the bending a little easier. I used my seaming tool to help control the counter twist that develops when bending the angles.
 Finally after assembling all the bulkheads and bending the longerons I am ready to start jigging the fuselage. The first part placed in the jig is the firewall. At this stage of construction the fuselage is built upside down, so the bottom of the firewall is at the top of the picture.
 The firewall, F604 and F605 bulkhead are installed. At this point it is critical that wing incidence angle is properly set by tilting the f604 bulkhead (center in photo) rearward 1/2-inch. THE F604 BULKHEAD IS NOT PLUMB! Also the distance between the wing spars needs to be measured (at least 10 times) and the f604 to f605 distance set at that measurement.
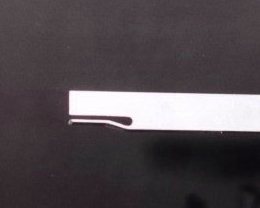 This is the special joggle that is needed to keep the side skins flat at the f604 bulkhead. This is according to plans and I have seen many examples where the joggled portion was just cut off. If I were to do it again I would trim the the joggled portion 1/4 - 3/8" shorter. This would allow more room for wires between the angle and the F-604 bulkhead.
 All of the bulkheads are finally in place. The f606 rear baggage wall bulkhead is real flimsy at this point and needs to be reinforced in some way. I used part of the shipping crate plywood to stiffen the bulkhead.
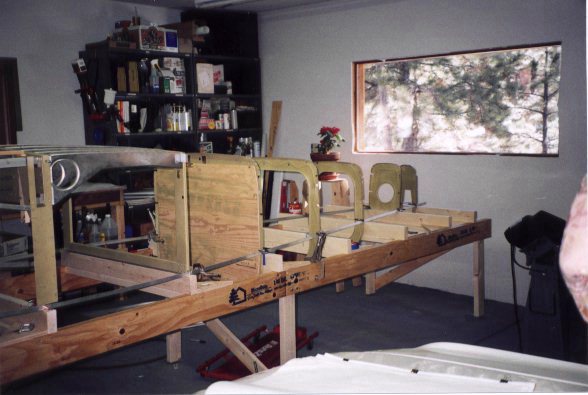
 The "J" stringers are in place and the fuselage is ready for skinning at this time. I think.
 The aft bottom skins are drilled and clecoed.
 The baggage compartments inside skins are easier to fabricate and install before the side skins get riveted on. I learned this from the Justice supplimental instructions
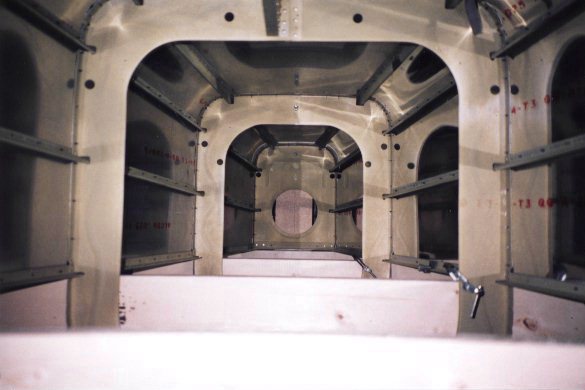 A view aft of the inside of the tailcone.
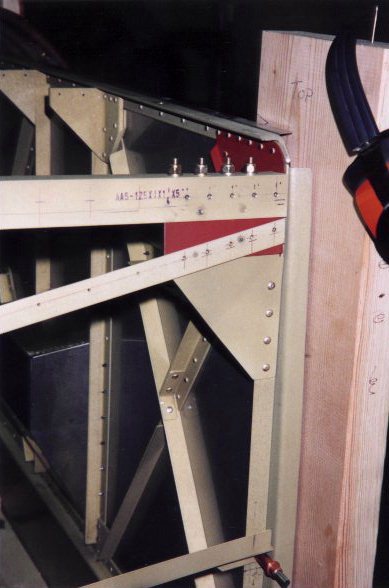 The lower firewall attach point. I have included these for clarification purposes only. I was a little confused at how everything was supposed to meet until I looked a the 6QB at Oshkosh.
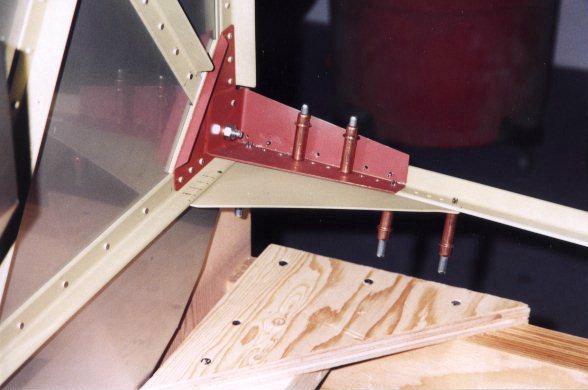 The top firewall attach point.
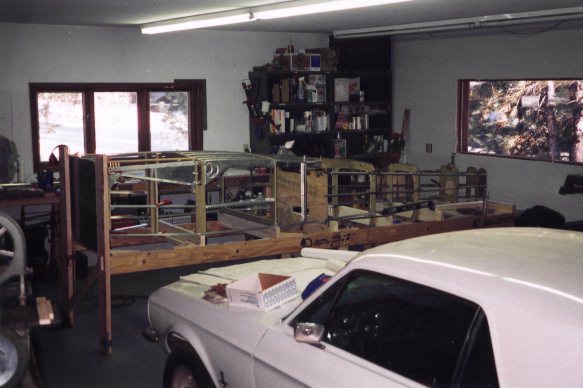
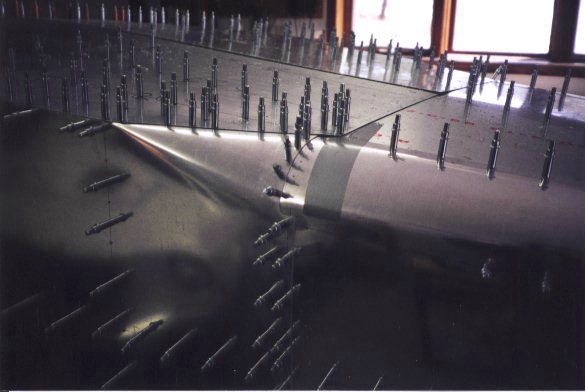
 All the skins are drilled and clecoed and ready for riveting.
 The dreaded cone zone. This area takes a little patience if you want it to look good. On the bottom side where the 4 skins overlap, placement of rivet holes must be though out carefully.