
Here are a few pictures taken during finishing of my RV-6A.
Click on the thumbnails for larger pictures.
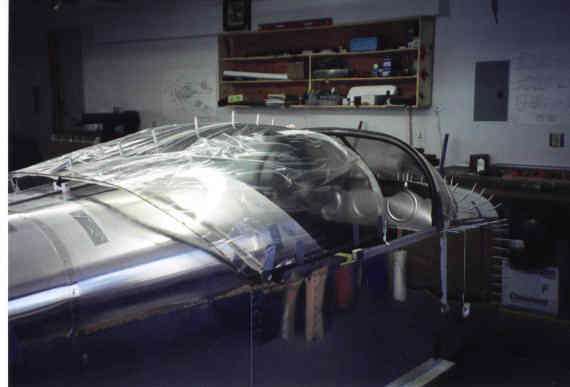
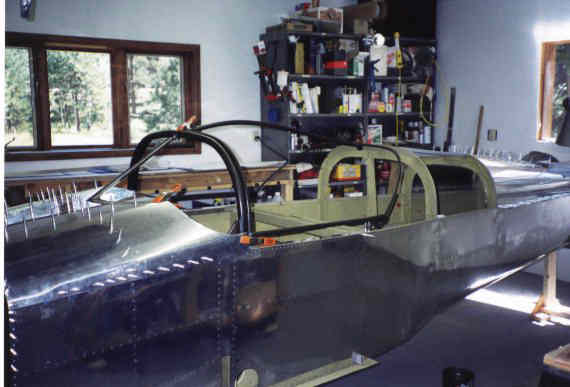 The first step I took with the finish kit was to install the rollover bar and fit the canopy frame. The canopy frame must be fitted before the forward skin on the turtle deck. This skin must be cut to match the curve of the rear of the canopy.
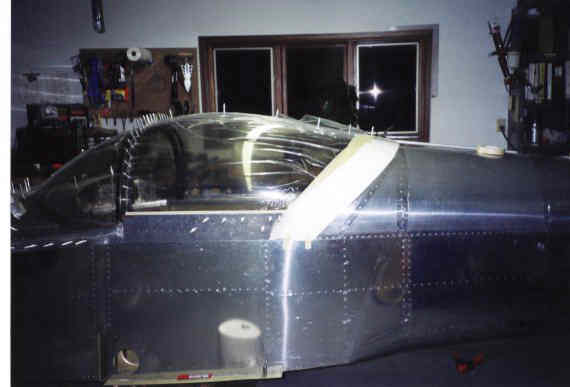
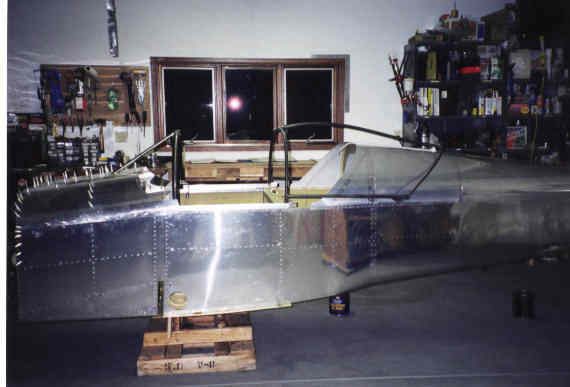 The last skin on the turtle deck is installed and so is the canopy sliding structure. It is really starting to look like and aircraft fuselage at this point.
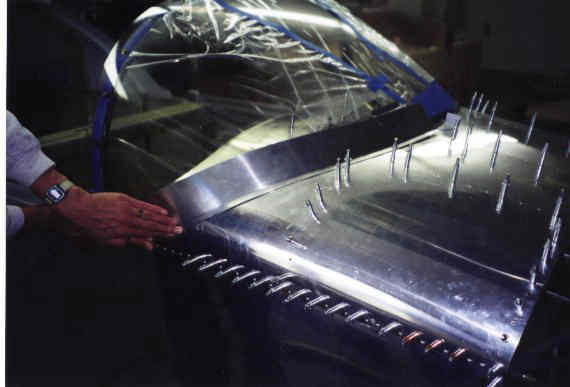
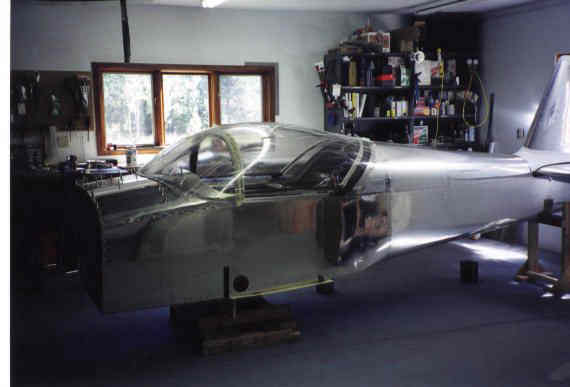 This is the first fitting of the bubble after cutting off the forming flanges. Before I started cutting on the canopy, I placed the frame under the bubble and matched the rear sway in the frame to the rear sway in the bubble. When this match was found I drew a circle on the canopy around the canopy latch hole and also marked the center bow position at the rear. These are the reference points I used to located the canopy after each trimming session.
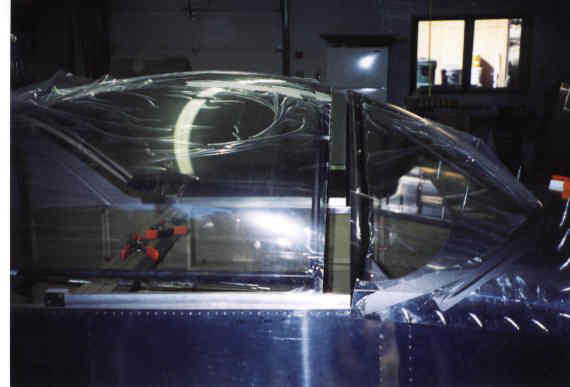 After many trimming sessions, it was finally time to split the canopy. Split the canopy as soon as you are comfortable with the unsplit fit. The canopy will never lay down on the fuselage properly until this is done. Also, cut off the portion of the canopy latch tube that stick above the center bow of the frame. This will allow the canopy to fit flush on the frame. Match drill the latch hole in the plexi later after drilling the plexi to the frame.
 The top bow is drilled. The use of masking tape to locate the center of the bows works better than I thought. Just put the tape on lightly and when the plexi is pressed against the bows, the center line is highlighted.
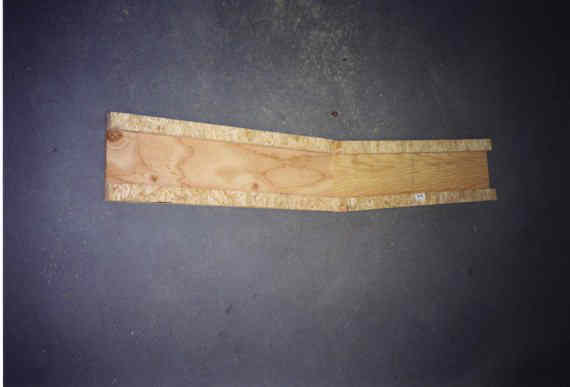
 The side skirts are fitted first and then the rear skirts. I started by transferring the pattern Van's had place on the aluminum to poster board. A few modifications later and the posterboard skirts fit just like I wanted.
 The template is transferred from the posterboard to the aluminum and then carefully cut. I hand bent the approximate curve to help fitting. On one side I had already drilled the canopy to the frame and had a hard time matching drilling the holes in the skirt. So I drill all the way through the bow and then place my wife inside, armed with a drill, and back drilled the skirts to the frame and canopy. This worked very well. The left over holes on the inside of the bow were filled with good ole JB Weld. The other side I drilled the skirt, canopy and bow at the same time. If I were to do it again I would go with the back drilling method.
 I had seen a couple of planes with the front windscreen skirt make out of aluminum. Van's had an article about how to do this so I tried it. And I liked it.
 Another view after final drilling. Before final riveting, the width will be cut down to a more pleasing size.
 I had used spacer blocks during fuselage construction and now found that to install the cowl the plane needed to be raised off the saw horses. Here is the false spar I built so I could install the main gear mounts and gear.
 False spar and main gear mounts installed.
 Finally standing on it's own. Hindsight says, don't do it this way. Later on I removed the gear and it now sits on horses again with the wings installed. I tell non RV builders that it's a retractable, and they believe me!
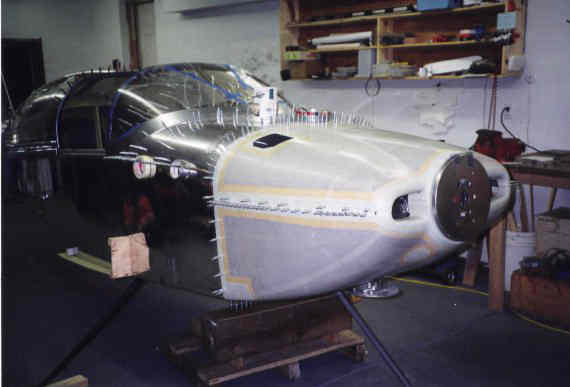 The S-type cowl fitted. Not really as hard as it looks. I started with the upper cowl, and then the lower cowl. I think most people start with the lower portion.